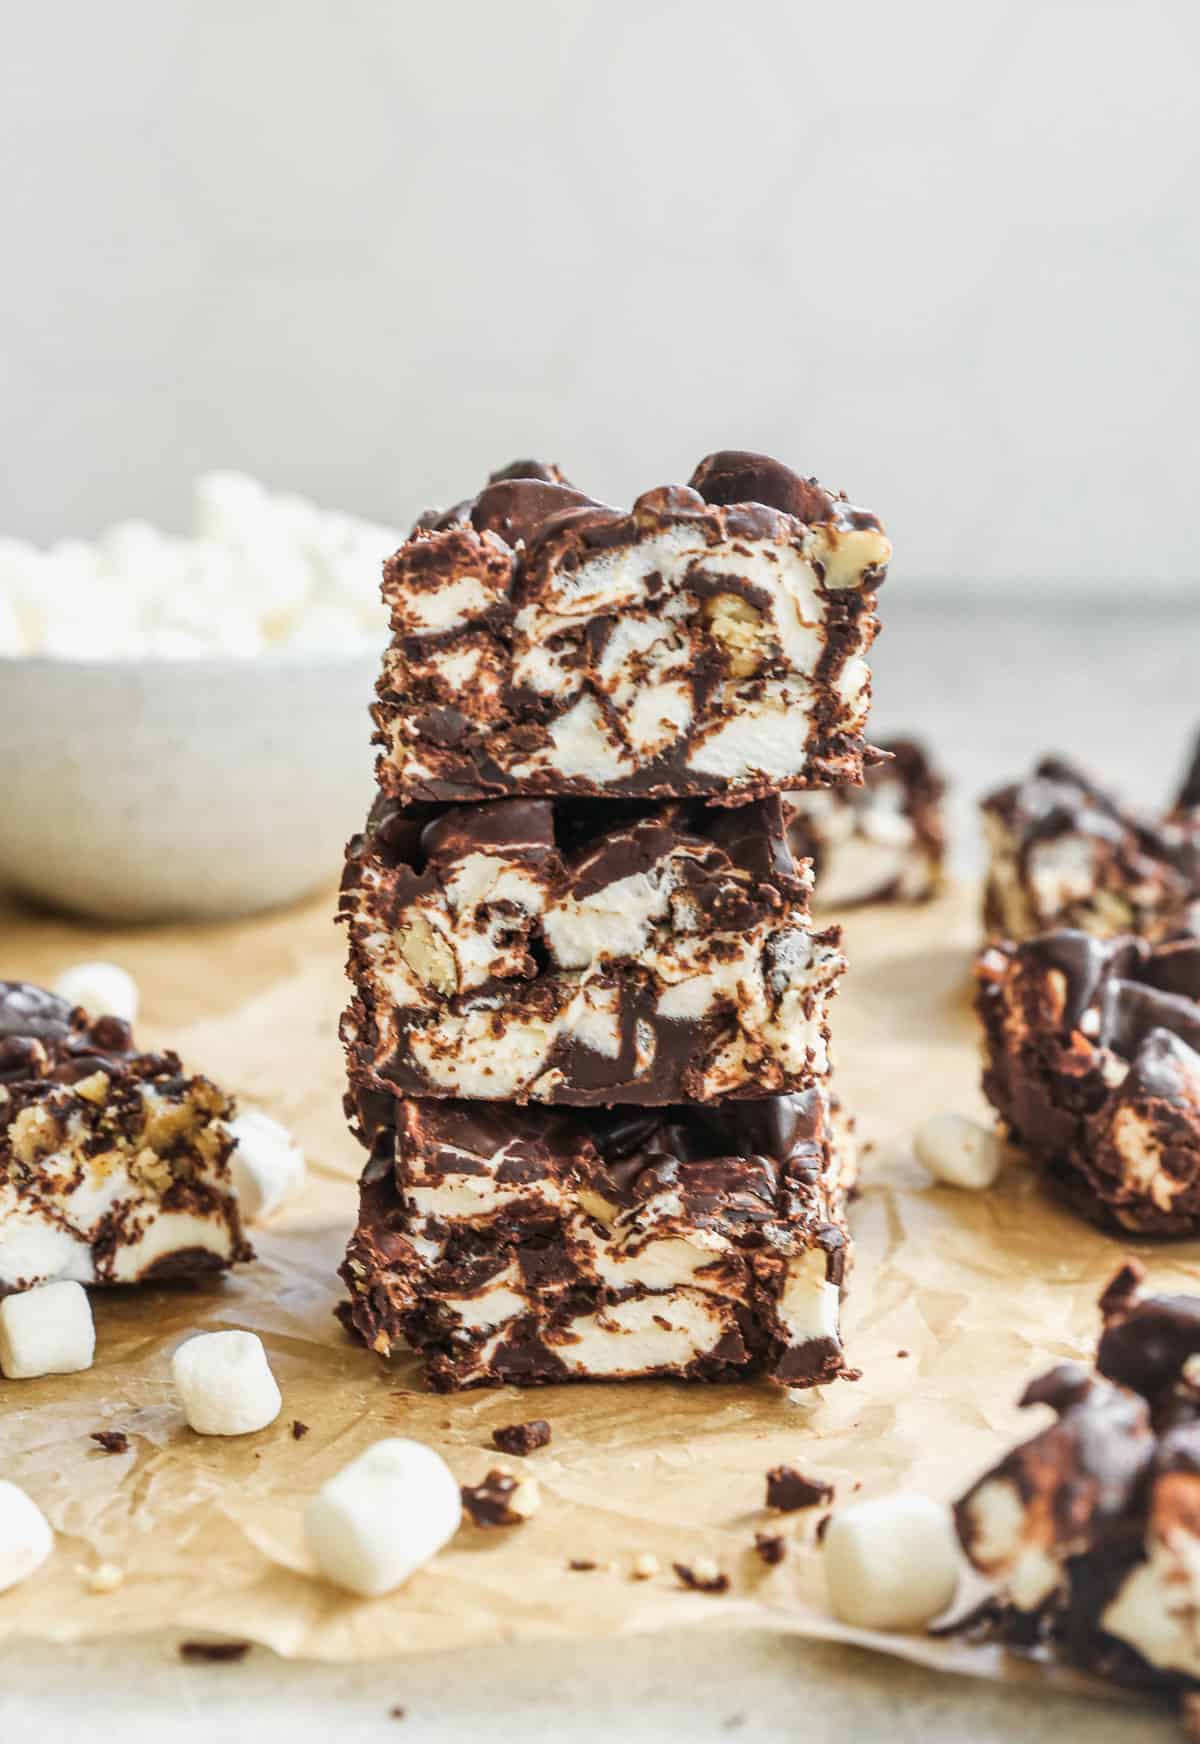
Great-grandma’s homemade Rocky Road recipe is our favorite no-bake treat, made with just four simple ingredients. It’s a chocolate marshmallow lover’s dream and we love to make it for potlucks, or neighbor gifts during the holidays.
Want more candy recipes? Try Chocolate Covered Marshmallows, Chocolate Fudge, Sweet Chex Mix, or Caramel Popcorn.

Why I love this recipe:
- No-Bake – This Rocky Road candy doesn’t make a mess in my kitchen or heat up my house. (Some of my other favorite no bake treats are Oreo Balls, Peanut Clusters, or Rice Krispie Treats!)
- Treasured family recipe from my husband’s Great Grandmother. She used to give it as birthday gifts to her grandchildren.
- Quick – Only 15 minutes to make and it stores great in the fridge or freezer. I love to take these to friends for a holiday or even a fun party!
Rocky Road Ingredients:
- Marshmallows – We always use large marshmallows, cut into quarters, for the best texture.
- Chocolate – Bakers chocolate melts perfectly, but other high quality semi-sweet chocolate would work as well (don’t use chocolate chips).
- Butter
- Vanilla Extract
- Walnuts (optional) – We usually don’t add nuts to our rocky road (I know they are technically the “rock” part of the dessert, but we prefer the plain marshmallow and chocolate combo), but if you like them, go ahead!
How to make Rocky Road:
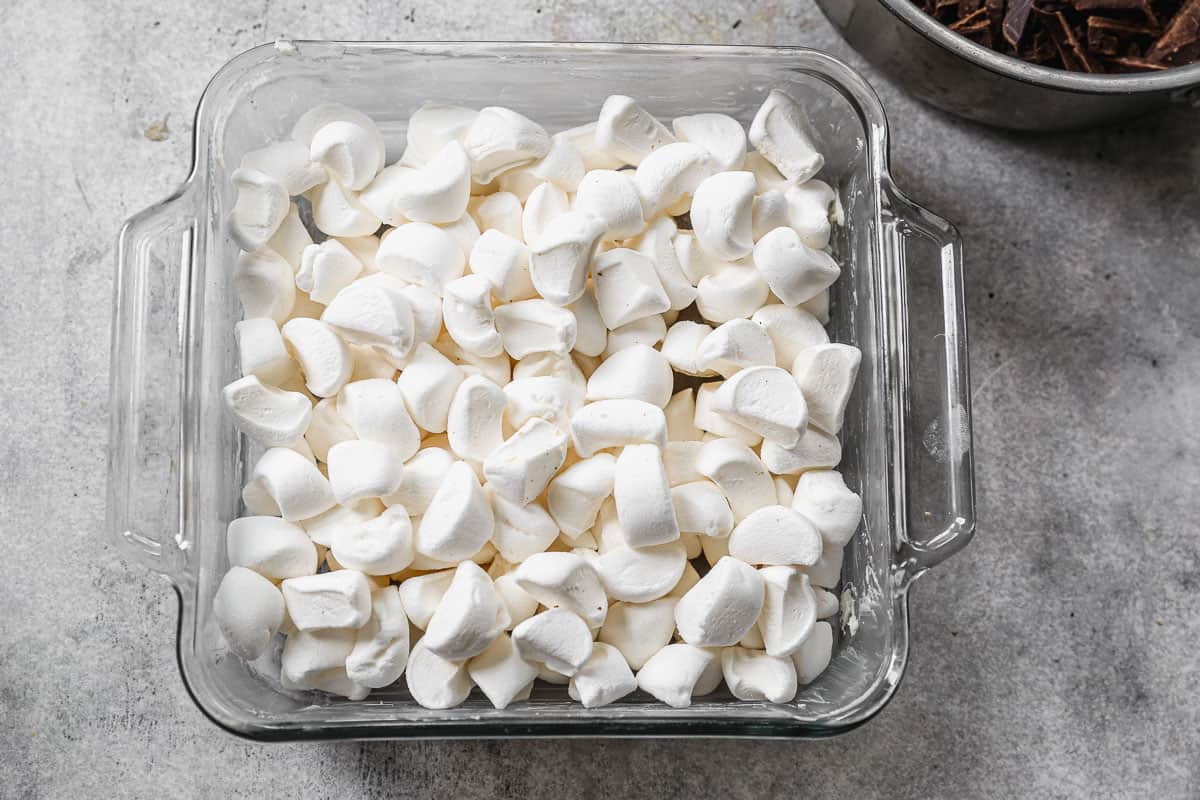
Cut Marshmallows: Grease a 8×8” baking pan with non-stick cooking spray or butter. Cut the marshmallows with scissors into 4ths (wetting the scissors in a cup of water after each cut will keep them from getting sticky). Add cut marshmallow to the pan.

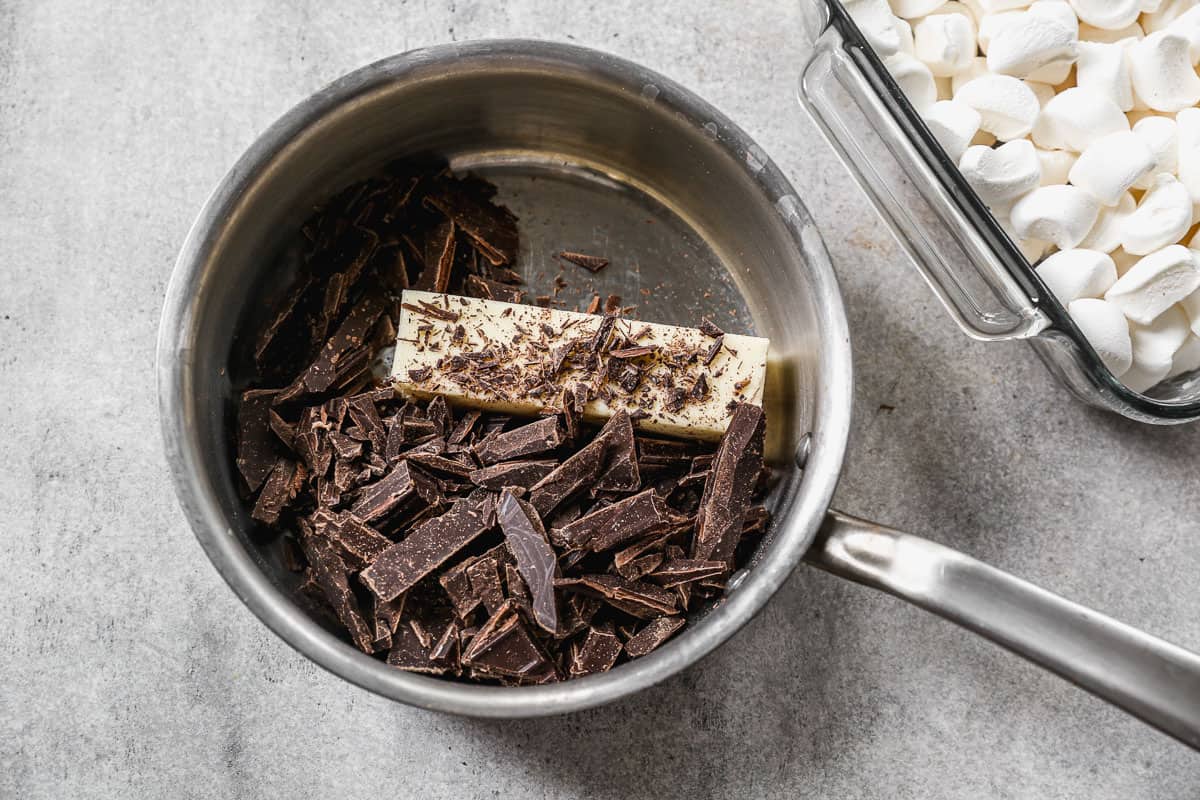
Melt Chocolate: In a saucepan over low heat (or a double boiler) add chocolate and butter. Stir constantly until melted and smooth then remove from heat and add the vanilla extract (and nuts, if using).

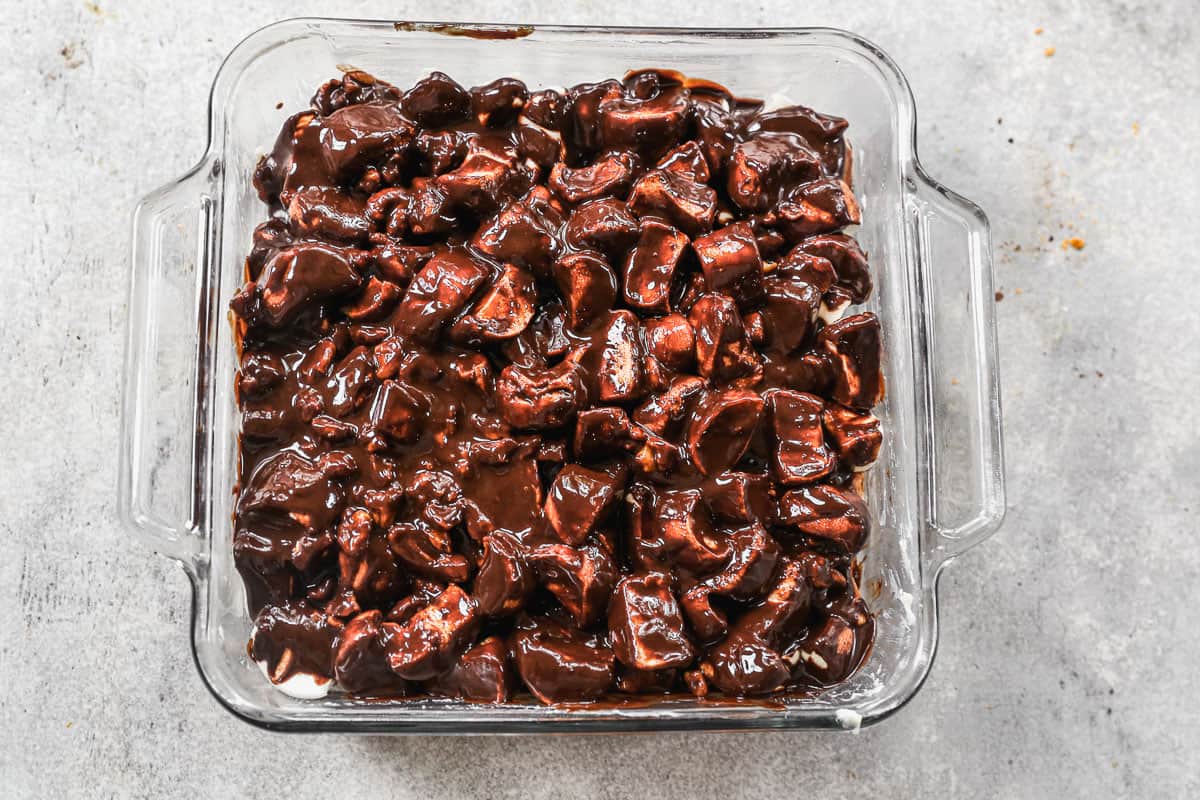
Pour: Slowly spoon melted chocolate over marshmallows, gently nudging the marshmallows with the spoon to allow the chocolate to seep into all of the cracks. Refrigerate this rocky road recipe until set. Store leftovers in the refrigerator.

Tips for Success:
- Use Regular Size Marshmallows, not mini’s. I know using mini marshmallows, rather than cutting the big ones, would be easier, but the texture of the fudge won’t be the same.
- Salted or unsalted butter will work. If using unsalted butter, you could add a pinch of salt to the melted chocolate before pouring over pan.
- Pour Chocolate Slowly. Slow and steady is best to make sure you evenly cover the entire top of the pan, and to make sure the chocolate is able to seep into the crackers between all of the marshmallow layers.
Make Ahead and Freezing Instructions:
To Make Ahead: This Rocky Road candy recipe is a great make-ahead treat! Store it in an airtight container in the refrigerator for a couple weeks.
To Freeze: Store in an airtight freezer-safe container in the fridge for up to two months. Thaw completely in the fridge.
Recipe Variations:
- Marshmallows: While the regular is my favorite, you could try adding flavored marshmallows for Easter or a fun flavor twist.
- Add-Ins: Try mixing in your favorite nuts, coconut, or even soft jelly candy.
Follow me for more great recipes
Recipe
Grease a 8×8” baking pan with non-stick cooking spray or butter.
Cut the marshmallows with scissors into 4ths (dip the scissors in water after each cut to keep the marshamllows from sticking). Add cut marshmallow to the pan.
In a saucepan over low heat (or a double boiler) add chocolate and butter. Stir constantly until melted and smooth. Remove from heat and add the vanilla extract and walnuts, if using.
Slowly spoon melted chocolate over marshmallows, gently nudging the marshmallows with the spoon to allow the chocolate to seep into all of the cracks.
Refrigerate until set. Store leftovers in the refrigerator.
Calories: 171kcalCarbohydrates: 18gProtein: 1gFat: 11gSaturated Fat: 6gPolyunsaturated Fat: 2gMonounsaturated Fat: 3gTrans Fat: 0.2gCholesterol: 13mgSodium: 49mgPotassium: 80mgFiber: 1gSugar: 12gVitamin A: 148IUVitamin C: 0.04mgCalcium: 12mgIron: 1mg
Did You Make This Recipe?
Tag @TastesBetterFromScratch on Instagram with #TastesBetterFromScratch!
I originally shared this recipe December 2014. Updated December 2017 and July 2023.
This post contains affiliate links. I love sharing my favorite tools with you.
